Shut Off Valve Installation Services Overview
Visitors will learn about how local contractors handle shut off valve installation services and how to compare options in their area.
- - Residential property owners seeking professional shut off valve installation services to ensure proper water control and safety.
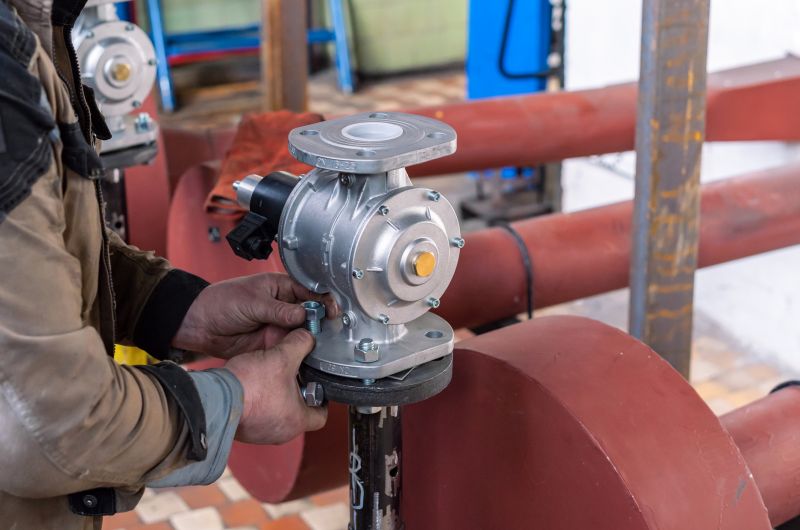
- - Commercial building managers needing reliable local contractors for installing or replacing shut off valves in complex plumbing systems.
- - Property managers looking to connect with experienced service providers for efficient shut off valve setup during renovations or repairs.
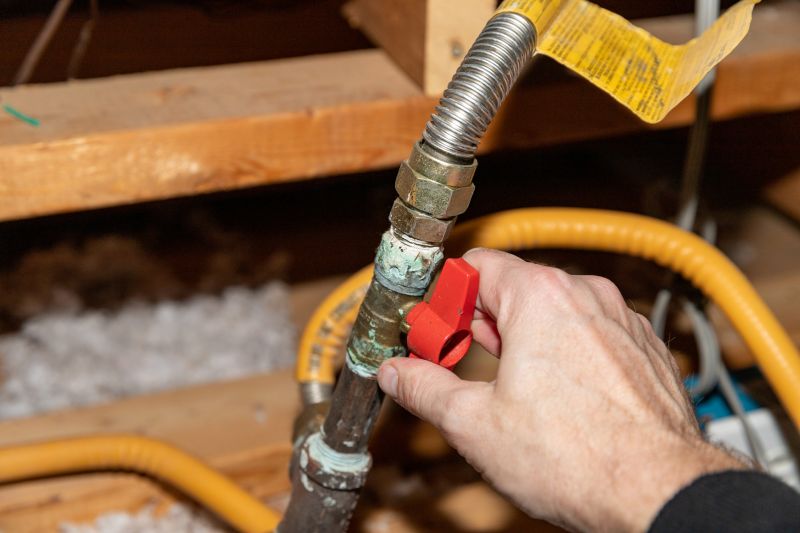
Shut off valve installation services involve the setup of essential plumbing components designed to control water flow within a property. Homeowners and property managers often seek assistance from local contractors to ensure these valves are installed correctly and function reliably. Whether replacing outdated valves or installing new ones in a remodel, local service providers handle a range of tasks to help maintain proper water management and prevent potential leaks or water damage.
Connecting with experienced local pros can simplify the process of managing shut off valve installation needs. These contractors are familiar with various property types and plumbing configurations, making it easier to find a solution tailored to specific requirements. Property owners can expect the work to involve precise installation practices, ensuring the valves operate effectively and provide reliable shut-off capabilities when needed.
This guide helps visitors understand the key factors involved in shut off valve installation, making it easier to plan and prepare for their project. It provides insights to compare and connect with local service providers who handle these installations. By understanding the basics, homeowners can make informed decisions when reaching out to local contractors.